初心者でもできる!ArmadilloでSoftEtherVPN(Client編)
概要
- マイコン(Armadillo)でSoftEtherVPNのClientを作成する
前提条件
- root権限で実行してください(デフォルトでは、
- インターネットに出られる状態になっていること
- ssh接続ができるようになっていること(
apt-get -y install sshでinstallできます) - USBメモリの用意
- あきらめない心
Armadilloのkernelの確認
CONFIG_TUN=yになっているかチェックする。- =yの時は、SoftEtherのインストール可能
- =y以外の時は、Linuxのカーネルを変更する必要がある。
- 上記の場合は、Armadillo G3Lでのtunデバイス有効化手順とかArmadillo開発者サイト 第22章Howtoなどを参照いただければ幸せになれそうです。
確認方法 下記のコマンドで
CONFIG_TUN=yが返ってくるかチェックする
zcat /proc/config.gz | grep "CONFIG_TUN="
準備
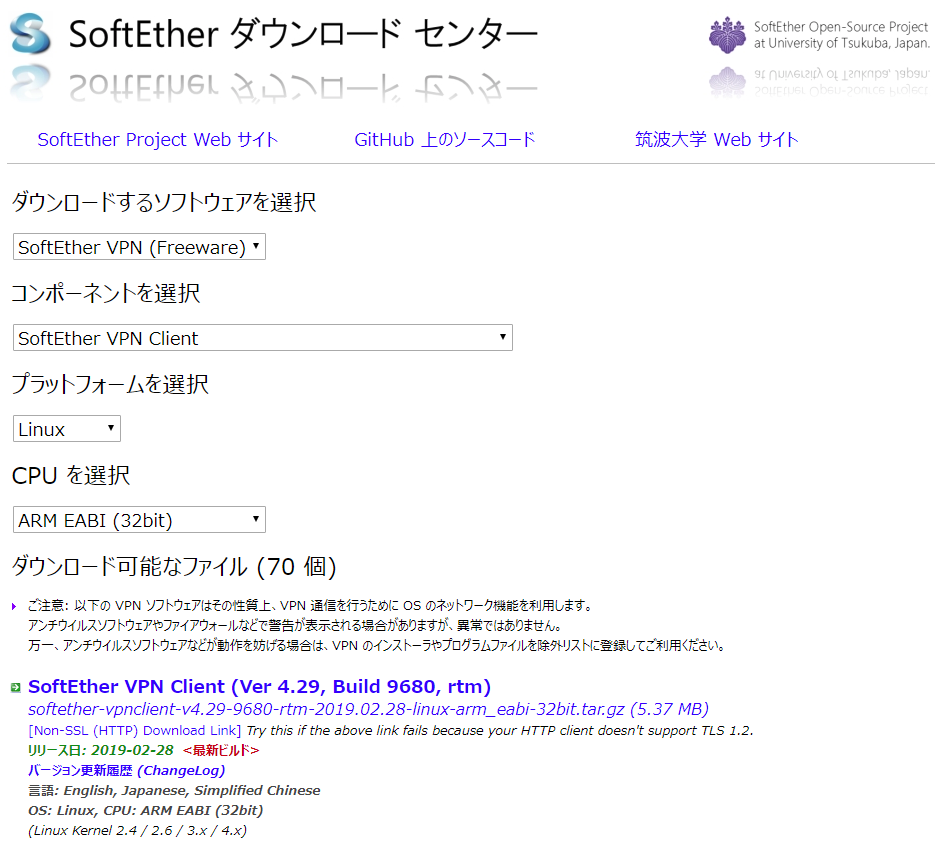
SoftEtherClientをダウンロードしてきます。
上記に示したファイルをUSBメモリに格納し、Armadilloに挿入します。
- 挿入後は、下記のコマンドで/mnt以下にUSBメモリをマウントし、Armadillo内のvpnフォルダ以下にコピーします。
mount -t vfat /dev/sda1 /mnt
mkdir /home/atmark/vpn
cp /mnt/softether*** /home/atmark/vpn
cd /home/atmark/vpn
SoftEtherのinstall
- /home/atmark/vpnフォルダにいると思いますので、下記のコマンドを実行し、SoftEtherを展開します。
- Linux へのインストールと初期設定を参考にしています。(ただし、本URLはサーバーのインストールのため適宜Clientに読み替えていきます。)
tar xzvf softether***
- 次に、vpnclientフォルダに移動してmakeを実行します。
cd vpnclient/
make

Do you want to read the License Agreement for this software ?
1. Yes
2. No
Please choose one of above number:
1

Did you read and understand the License Agreement ?
(If you couldn't read above text, Please read License_ReadMe.txt
file with any text editor.)
1. Yes
2. No
Please choose one of above number:
1

Did you agree the License Agreement ?
1. Agree
2. Do Not Agree
Please choose one of above number:
1
- 上記が終了後、vpnclientフォルダに移動します
- 移動後、vpnclientをスタートさせ、設定を行います。
cd vpnclient/
./vpnclient start
./vpncmd
root@armadillo:/home/atmark/vpn/vpnclient
root@armadillo:./vpncmd

vpncmd command - SoftEther VPN Command Line Management Utility
SoftEther VPN Command Line Management Utility (vpncmd command)
Version 4.19 Build 9599   (English)
Compiled 2015/10/19 20:28:20 by yagi at pc30
Copyright (c) SoftEther VPN Project. All Rights Reserved.

By using vpncmd program, the following can be achieved.

1. Management of VPN Server or VPN Bridge
2. Management of VPN Client
3. Use of VPN Tools (certificate creation and Network Traffic Speed Test Tool)

Select 1, 2 or 3: 2 #2番を選択します

Specify the host name or IP address of the computer that the destination VPN Cli                                     ent is operating on.
If nothing is input and Enter is pressed, connection will be made to localhost (                                     this computer).
Hostname of IP Address of Destination: # 何も入力せずにEnter

Connected to VPN Client "localhost".

VPN Client>NicCreate #仮想NICを作成します。
NicCreate command - Create New Virtual Network Adapter
Virtual Network Adapter Name: azure_vpn # 今回はAzureにSoftEtherServerを立てた想定でこのような名前にしています。

The command completed successfully.

VPN Client>AccountCreate # Accountを作成します。
AccountCreate command - Create New VPN Connection Setting
Name of VPN Connection Setting: [Account名] # Account名を任意の文字列で作成

Destination VPN Server Host Name and Port Number:
[VPNServer名:port] # VPNのサーバー名とポートを指定します。

Destination Virtual Hub Name: AzureVPN # 仮想HUBの名称を指定します。

Connecting User Name: [User名] # サーバー側で設定したUser名を入力します

Used Virtual Network Adapter Name: azure_vpn #前段で作成したNICの名称を入れます。

The command completed successfully..

VPN Client>AccountPasswordSet #Accountのパスワードを設定します。
AccountPasswordSet command - Set User Authentication Type of VPN Connection Sett                                     ing to Password Authentication
Name of VPN Connection Setting: [Account名] # 前段で設定したAccount名を入力します

Please enter the password. To cancel press the Ctrl+D key.

Password: [password] # 任意のパスワードを設定します。
Confirm input: [password]


Specify standard or radius: standard # standardを設定します。

The command completed successfully.

VPN Client>AccountConnect # 次にどのAccountを接続するかを設定します。
AccountConnect command - Start Connection to VPN Server using VPN Connection Set                                     ting
Name of VPN Connection Setting: [Account名] # Account名を入力します

The command completed successfully.

VPN Client>accountlist
AccountList command - Get List of VPN Connection Settings
Item                        |Value
----------------------------+-------------------------------------------------------------------
VPN Connection Setting Name |[Account名]
Status                      |Connected
VPN Server Hostname         |[VPNServer名:port] (Direct TCP/IP Connection)
Virtual Hub                 |AzureVPN
Virtual Network Adapter Name|azure_vpn
The command completed successfully.

VPN Client>accountstartupset # スタート時にどのAccountを接続するか設定します。
AccountStartupSet command - Set VPN Connection Setting as Startup Connection
Name of VPN Connection Setting: [Account名]
- また、/etc/init.d/vpnclientにvpnclient起動スクリプトを作成した。
chmod 755 vpnclientで実行権限も渡しておく
#!/bin/sh
#
# chkconfig: 2345 99 01
# description: SoftEther VPN Client

DAEMON=/home/atmark/vpn/vpnclient/vpnclient
LOCK=/var/lock/subsys/vpnclient

test -x $DAEMON || exit 0

case "$1" in
  start)
    $DAEMON start
    touch $LOCK
    ;;
  stop)
    $DAEMON stop
    rm $LOCK
    ;;
  restart)
    $DAEMON stop
    sleep 3
    $DAEMON start
    ;;
  *)
    echo "Usage: $0 {start|stop|restart}"
    exit 1
esac

sleep 5
ip address add 192.168.1.1/24 brd 192.168.1.255 dev vpn_azure_vpn

exit 0
- また、rc.localには下記のように入力し、vpnclient起動後固定IPを振るようにした。
#!/bin/sh
#
# rc.local
#
# This script is executed at the end of each multiuser runlevel.
# Make sure that the script will "exit 0" on success or any other
# value on error.
#
# In order to enable or disable this script just change the execution
# bits.
#
# By default this script does nothing.
HUB_RESET="/sys/devices/soc/30800000.aips-bus/30a50000.i2c/i2c-3/3-0008/USB3503_
RESET/value"
reset_hub()
{
        echo 0 > $HUB_RESET
        sleep 0.1
        echo 1 > $HUB_RESET
}

HUB_ID="0424:3503"
lsusb -d $HUB_ID > /dev/null 2>&1
if [ $? -ne 0 ]; then
        reset_hub
fi

/etc/init.d/vpnclient start

sleep 5
ip address add 192.168.1.1/24 brd 192.168.1.255 dev vpn_azure_vpn

exit 0
以上で設定は終わりです。 これで、Armadillo起動時に自動的にSoftEtherが立ち上がります。